
Halloween Cookies – Easy, Spooky Treats Everyone Loves

It’s October 30th. The class party is tomorrow, and you just remembered you signed up for treats. Been there!
You can type “halloween cookies near me” into your phone at 9 p.m., but you’ll only find a closed bakery and a picked-over shelf. Even then, store-bought treats never taste like the real thing.
Good news: these halloween cookies are soft, chewy, and covered in sprinkles. They look spooky-cute even if you’ve never decorated a cookie in your life.
These easy halloween cookies take 20 minutes of prep and 11 minutes in the oven. They use 10 simple pantry staples, and you don’t need a rolling pin or a single cookie cutter.
↓ Jump straight to the recipe using the button above, or keep reading for all my tips!
Why You’ll Love These Halloween Cookies
✔️ Ready in about an hour — Most of that is chill time, so you can do other things while the dough rests.
✔️ No cutters, no rolling — You shape simple dough balls, which means zero frustration and zero flour on the ceiling.
✔️ Soft and chewy in the center — The extra egg yolk keeps every bite tender for days.
✔️ Beginner-friendly — If you can stir with a spoon, you can make these. Kids can help with the sprinkles and candy eyes.
✔️ Make-ahead and freezer-friendly — Freeze the dough or the baked cookies for stress-free party prep.
✔️ Endlessly customizable — Change the colors, sprinkles, or mix-ins and you’ve got a brand new treat.
Ingredients You’ll Need
Main Ingredients
| Ingredient | Amount | Why It’s Used | Substitute |
|---|---|---|---|
| All-purpose flour | 2¾ cups (345 g) | Gives the cookies structure | Gluten-free 1:1 baking blend |
| Baking soda | 1 tsp | Helps cookies puff and spread slightly | None needed |
| Baking powder | ½ tsp | Adds lift for a soft texture | None needed |
| Salt | ½ tsp | Balances the sweetness | Fine sea salt |
| Unsalted butter, softened | 1 cup (226 g) | Delivers richness and flavor | Plant-based butter sticks |
| Granulated sugar | 1 cup (200 g) | Sweetens and crisps the edges | Coconut sugar |
| Large egg | 1, plus 1 yolk | Binds the dough, and the yolk keeps it chewy | Flax egg (1 tbsp ground flax + 3 tbsp water) |
| Vanilla extract | 2 tsp | Adds warm, bakery-style flavor | Vanilla bean paste |
| Gel food coloring | A few drops each of orange, purple, green | Makes the dough look spooky | Natural powder colorings |
| Halloween sprinkles | ½ cup | Adds crunch and color | Orange and black nonpareils |
| Candy eyeballs | 24 | Turn each cookie into a monster | Mini chocolate chips |
Blogger Note: Use real butter and let it soften on the counter for about 45 minutes. Butter that’s too cold won’t cream properly, and butter that’s melted makes the cookies spread into flat puddles. Press a finger into the stick. It should leave a dent without sinking in.
Optional Add-ins & Variations
- Mini chocolate chips: Fold in ½ cup for a cookies-and-candy combo that kids go wild for.
- Orange zest: Add 1 tsp for a bright, fresh flavor that cuts the sweetness.
- Crushed pretzels: Stir in ½ cup for a salty-sweet crunch.
- Cinnamon and nutmeg: Add ½ tsp of each for a cozy, fall-spiced cookie.
- White chocolate drizzle: Drizzle over cooled cookies for a “spider web” effect.
Ingredient Substitutions
- Dairy-free: Swap the butter for plant-based baking sticks. Avoid tub spreads, which hold too much water.
- Gluten-free: Use a cup-for-cup gluten-free flour blend with xanthan gum already in it.
- Egg-free: Use a flax egg in place of the whole egg and skip the extra yolk. Add 1 tbsp of milk of choice.
- Sugar alternatives: Swap in coconut sugar for a deeper, caramel-like flavor. Skip sugar-free granulated blends here, since they brown unevenly.
Equipments
- Large mixing bowl
- Medium mixing bowl
- Electric hand mixer or stand mixer
- Measuring cups and spoons
- Rubber spatula
- Three small bowls
- Two baking sheets
- Parchment paper
- Cookie scoop
- Wire cooling rack
- Airtight container

How to Make Halloween Cookies – Step by Step
Step 1 – Preheat and Prep Your Pans
Heat your oven to 350°F (175°C). Line two baking sheets with parchment paper so the cookies release easily.
👁️ Visual Cue: The parchment should lie flat with no curled edges.
💡 Pro Tip: Skip greasing the pan. Extra grease makes the bottoms spread too fast and turn greasy.
Step 2 – Whisk the Dry Ingredients
In a medium bowl, whisk the flour, baking soda, baking powder, and salt. This spreads the leaveners evenly so every cookie rises the same way.
👁️ Visual Cue: The mixture looks uniformly pale with no white streaks of baking soda.
💡 Pro Tip: Spoon the flour into your measuring cup and level it off. Scooping straight from the bag packs in extra flour and makes dry cookies.
Step 3 – Cream the Butter and Sugar
Beat the softened butter and sugar for 2 to 3 minutes on medium speed. Scrape the bowl once halfway through.
👁️ Visual Cue: The mixture turns pale yellow and fluffy, almost like frosting.
⚠️ Watch Out: Cutting this step short is the number one reason cookies turn out dense. Those tiny air pockets are what make them tender.
Step 4 – Add the Egg, Yolk, and Vanilla
Beat in the whole egg, extra yolk, and vanilla until combined. Stop mixing as soon as it looks smooth.
👁️ Visual Cue: The batter looks creamy and glossy with no visible streaks of egg.
💡 Pro Tip: Use room-temperature eggs. Cold eggs can make the butter seize into little clumps.
Step 5 – Mix in the Flour and Divide the Dough
Add the dry ingredients on low speed until just combined. Split the dough into three bowls and tint each one with gel coloring. Orange, purple, and green are the classic trio.
👁️ Visual Cue: The dough should look soft and slightly sticky, like thick play dough.
⚠️ Watch Out: Liquid food coloring thins the dough and makes the cookies spread. Gel gives you vibrant color with just a few drops.
Step 6 – Chill, Shape, and Roll in Sprinkles
Chill the dough for 30 minutes. Roll it into 1½-inch balls, then roll each ball in Halloween sprinkles. Place them 2 inches apart.
👁️ Visual Cue: Each ball should be coated and look like a tiny, colorful confetti ball.
💡 Pro Tip: Chilled dough spreads less, so your cookies stay thick and bakery-style.
Step 7 – Bake and Add the Eyes
Bake for 10 to 11 minutes. Press a candy eyeball into each cookie the second they leave the oven. Cool on the pan for 5 minutes.
👁️ Visual Cue: The edges should look set and the centers slightly puffy and pale.
⚠️ Watch Out: Don’t wait for the centers to brown. They’ll keep cooking on the hot pan, and overbaked cookies turn crunchy instead of soft.
Expert Tips for the Best Results
🔑 TIP #1: Weigh Your Flour
A cup of flour can vary by 30 grams or more depending on how you scoop it. A kitchen scale takes the guessing out. Consistent flour means consistent texture every time.
🔑 TIP #2: Pull Them Out Early
Cookies keep baking from residual heat for several minutes after leaving the oven. Take them out when the centers still look a touch underdone. They’ll finish setting on the pan and stay soft.
🔑 TIP #3: Tap the Pan
Give the baking sheet a gentle bang on the counter right after baking. This deflates the puffy centers and creates those pretty crinkled tops.
🔑 TIP #4: Use Cool Pans
Placing dough on a hot pan melts the butter before the cookie sets, which causes spreading. Rotate between two or three pans while the others cool.
🔑 TIP #5: Press Eyes While Warm
Candy eyes stick best to warm cookies because the surface is slightly soft and tacky. Wait too long and they’ll pop right off. Pressing gently keeps the cookie from cracking.
Halloween Cookies Variations to Try
Once you’ve mastered this halloween cookies recipe, the fun really starts. Swap a few ingredients and you’ll have enough halloween cookies ideas to fill a whole party table.
Oreo Halloween Cookies
Fold 1 cup of coarsely crushed Oreos into the dough and top each cookie with half an Oreo before baking. Orange-creme Oreos make the best seasonal halloween cookies Oreo style. The result is a chewy cookie with chocolate crunch in every bite.
Pillsbury Halloween Cookies Shortcut
Short on time? Pick up Pillsbury halloween cookies dough, which is the shaped, ready-to-bake kind with seasonal designs. You can also use plain Pillsbury sugar cookie dough and roll it in sprinkles. Most stores, including the halloween cookies Walmart bakery and refrigerated aisles, carry halloween cookies Pillsbury options, so they’re easy to find the week of October 31st.
Chocolate Monster Cookies
Replace ½ cup of the flour with unsweetened cocoa powder for a dark, fudgy cookie. Add green or purple candy melts for a “monster” look. It’s rich, deep chocolate flavor for chocoholics.
Vegan Halloween Cookies
Swap in plant-based butter and a flax egg. Choose dairy-free sprinkles and candy eyes. The cookies come out slightly softer, so chill the dough a full 45 minutes.

How to Store, Refrigerate & Freeze
Room Temperature Storage
Keep cooled cookies in an airtight container with a sheet of parchment between layers. They stay soft for up to 5 days. Add a slice of bread to the container if your kitchen runs dry. It keeps the cookies tender.
Refrigerator Storage
Chill baked cookies in a sealed glass or plastic container for up to 1 week. The butter firms up, so let them sit out 15 minutes before serving. You can also refrigerate raw dough, tightly wrapped, for up to 3 days.
Freezer Instructions & How to Reheat
Freeze baked cookies in a freezer-safe zip bag for up to 3 months. Freeze dough balls on a tray first, then bag them for up to 2 months. Bake dough straight from frozen and add 1 to 2 minutes. To reheat baked cookies, warm them at 300°F for 4 to 5 minutes, or microwave one for 8 seconds.
What to Serve With Halloween Cookies
🧈 Simple Spreads & Toppings
- Vanilla buttercream piped on top
- Cream cheese frosting swirled onto the cooled cookie
- Melted chocolate for dipping
- Marshmallow fluff for sandwich cookies
☕ Drink Pairings
- A warm mug of spiced apple cider
- Cold whole milk, the classic
- Hot chocolate with whipped cream
- Chai latte
Planning a full spread? Start the party morning with my Halloween Cupcakes – Easy, Spooky Treats Everyone Loves and save the cookies for later. For dinner before trick-or-treating, my Chicken Soup Recipe – Easy Comfort in Every Single Bowl keep the evening stress-free.
🍨 Dessert Style Serving
- Crumble over vanilla ice cream
- Build ice cream sandwiches with two cookies
- Stack on a platter with fall fruit
Craving more sweets? Browse my Chicken Casserole Recipe – Easy Comfort Your Family Loves for other holiday treats. If you’re doing party prep in advance, my Baked Chicken Recipe – Easy, Juicy Dinner Everyone Loves help you plan the whole day. New to baking? My Chicken and Rice Recipe – Easy, Creamy Weeknight Dinner cover everything from creaming butter to oven temps.
Frequently Asked Questions
Can I Make Halloween Cookies Ahead Of Time?
Yes! Freeze the shaped dough for up to 2 months and bake when needed. These halloween cookies also keep well for 5 days once baked.
Why Did My Halloween Cookies Spread Too Much?
Warm butter or skipping the chill time is usually the cause. Chill the dough for 30 minutes and use cool pans.
How Do I Keep Halloween Cookies Soft?
Underbake them slightly and store in an airtight container. A slice of bread inside keeps them tender.
What Are The Best Halloween Cookies Ideas For Kids?
Monster cookies with candy eyes, Oreo-topped cookies, and sprinkle-covered treats are favorites. Kids love helping decorate these simple halloween cookies.
Nutrition Information
| Per Cookie | Amount |
|---|---|
| Calories | 185 |
| Fat | 9 g |
| Carbohydrates | 25 g |
| Protein | 2 g |
| Sugar | 14 g |
| Fiber | 0.5 g |
| Sodium | 95 mg |
Butter and sugar contribute the most calories. For a lighter cookie, use slightly less sugar and skip the sprinkle coating. Exact values vary by the brands and ingredients you use.
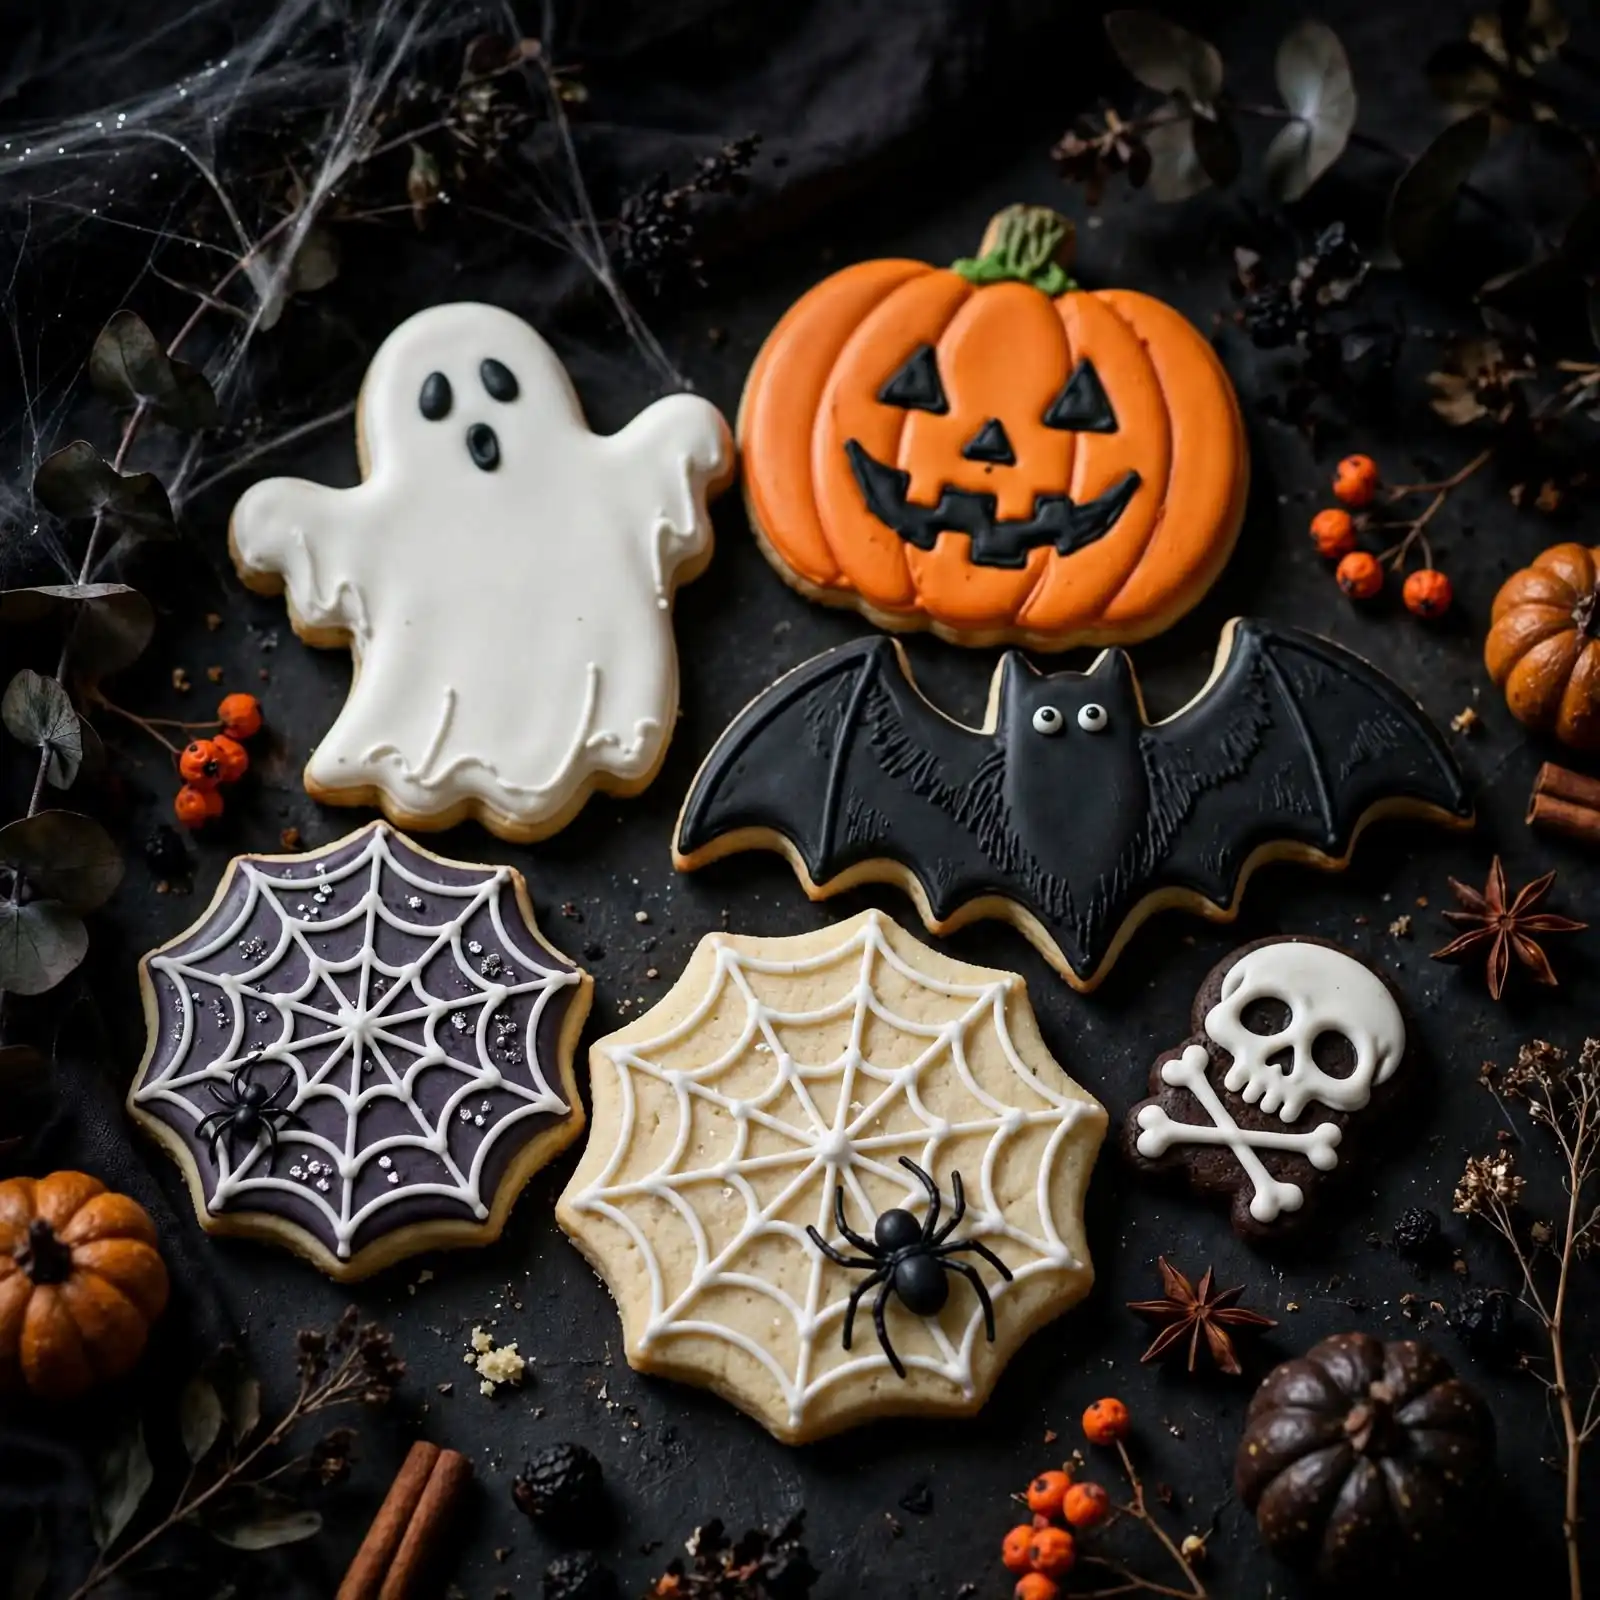
Easy Halloween Cookies
Ingredients
Equipment
Method
- Preheat the oven to 350°F (175°C) and line two baking sheets with parchment.
- Whisk the flour, baking soda, baking powder, and salt in a bowl.
- Beat the butter and sugar for 2 to 3 minutes until pale and fluffy.
- Beat in the egg, egg yolk, and vanilla until smooth.
- Add the dry ingredients on low speed until just combined.
- Divide the dough into three bowls and tint with gel food coloring.
- Chill the dough for 30 minutes.
- Roll the dough into 1½-inch balls and coat in sprinkles.
- Place on baking sheets 2 inches apart.
- Bake for 10 to 11 minutes until the edges set.
- Press a candy eye onto each warm cookie.
- Cool on the pan for 5 minutes, then transfer to a wire rack.
Notes
- Use gel food coloring, not liquid, to prevent spreading.
- Store in an airtight container for up to 5 days.
- Freeze dough balls for up to 2 months and bake from frozen.
- Swap in gluten-free flour or plant-based butter for dietary needs.